JPMorgan Chase NYSE: JPM, Paymentech, BitCoin Ransomware
Overview:
SonicWall Capture Labs Threat Research Team, recently found the VirLock, JPMorgan Chase Paymentech, BitCoin Ransomware active and floating around in 2019. VirLock, sometimes known as VirLocker or VirRansom is also known as metamorphic ransomware. The malware automatically reproduces its code base each time it propagates or is distributed to other active nodes on the network. Techniques used inside this malware include; Function reordering, Program flow modification, Varying lengths of NOP instructions, Useless instructions, Varying aspects of left and right shifting, OR-ing, and XOR-ing. It also uses a non-standard x86 intel instruction called RDTSC – Read Time-Stamp Counter for it’s pseudo-random value generator. VirLock, is considered both a Screen Locker and File Infector. Ransomware is usually either one or the other.
This is what makes VirLock special. It will add an infection stub and copy of itself to each file on your hard drive. This stub will get executed each time you double click on a new file. Meaning, you will always be infected with this malware. The only thing you can do is back up your files and have a recovery specialist retrieve your files for you. Then reinstall your Operating System on a new hard drive.
The payment processing used in this malware is called Paymentech. Paymentech is apart of the merchant services industry their product is based on the Payment Processing Services for small and large businesses to process payments, including credit cards, debit cards, alternative payments such as gift cards, and mobile payments. Paymentech is also known as (Merchant Services | Chase.com) with over $1 trillion in annual processing volume.
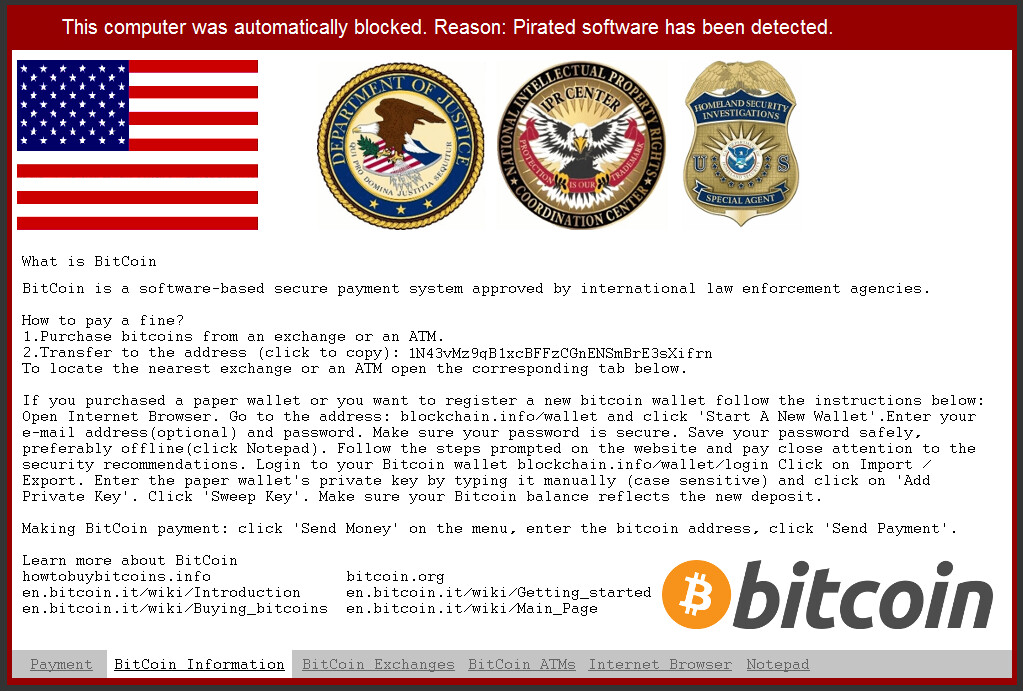
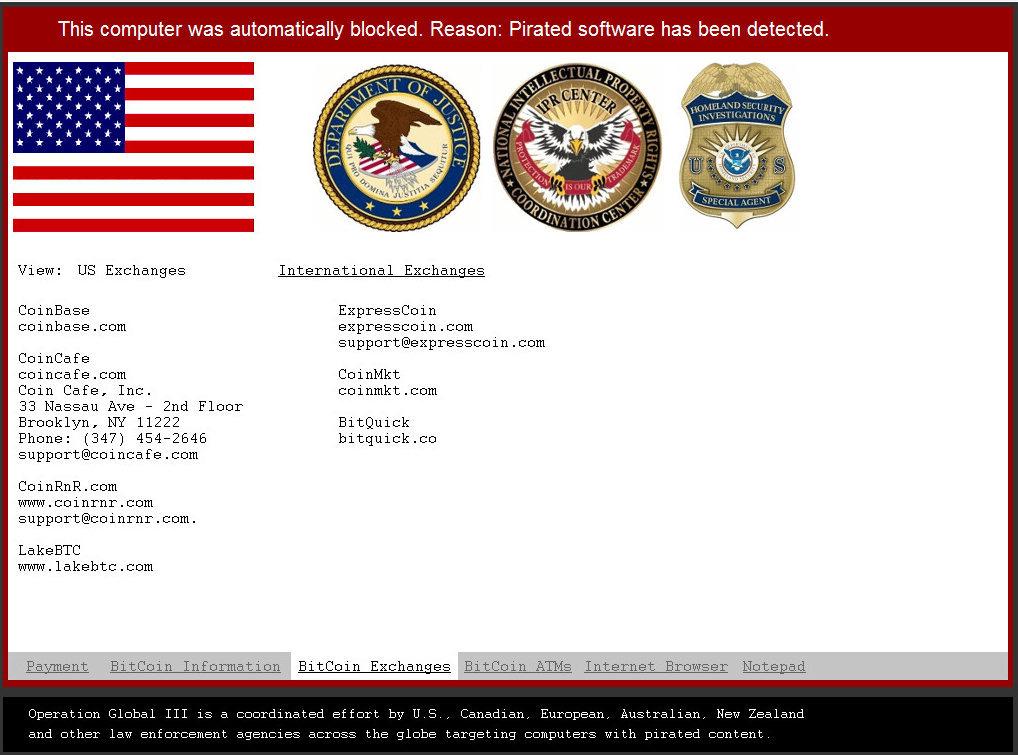
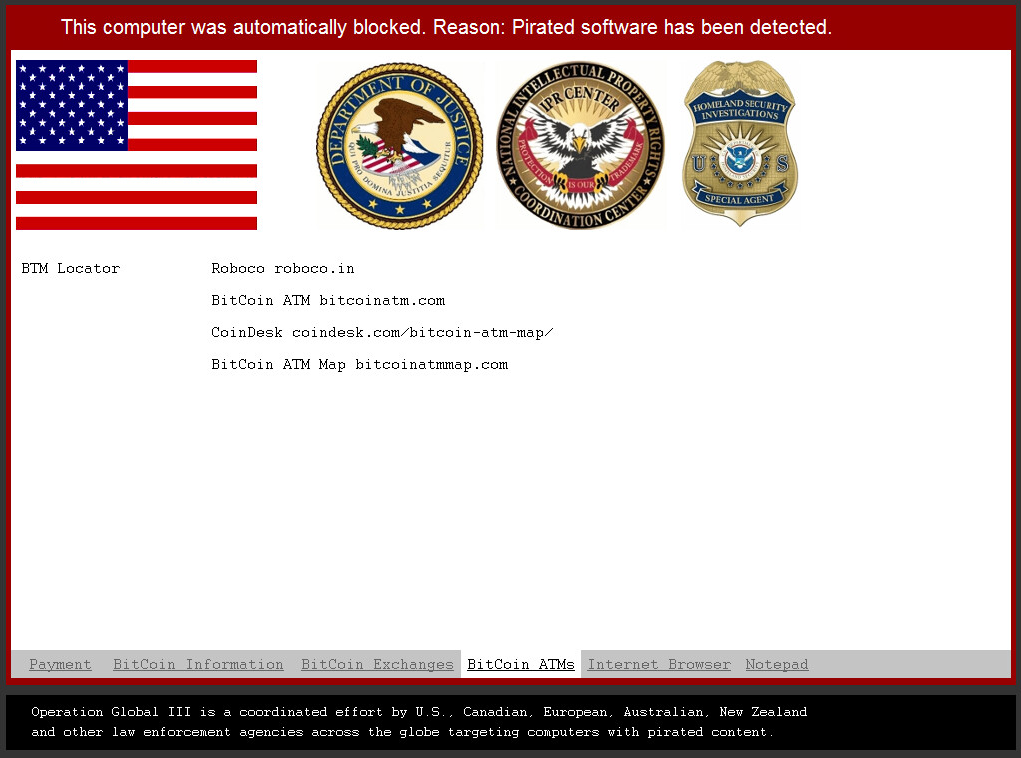
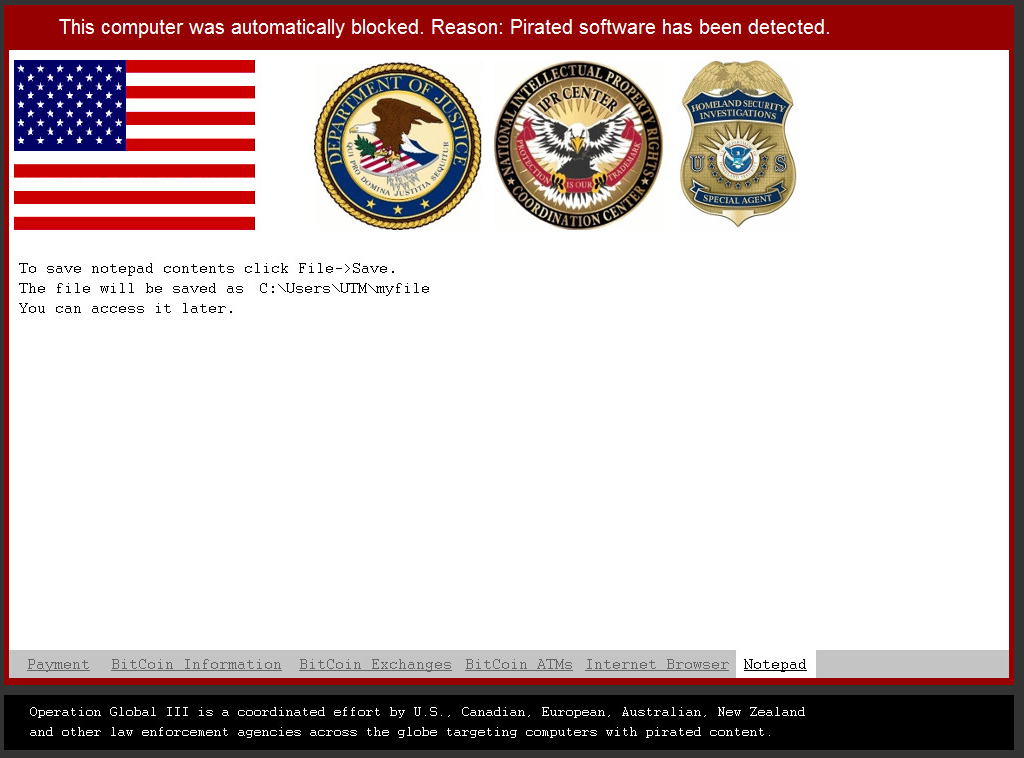
The following pictures describes the newer generation VirLock Ransomware. Once the infection is finished initializing and installing itself to multiple areas on your machine. It will show you the window labeled (Payment Tab). Within this window you will notice six tabs at the bottom. They are labeled, (Payment, BitCoin Information, BitCoin Exchanges, BitCoin ATMs, Internet Browser, and Notepad).
Payment Tab:

BitCoin Information Tab:
BitCoin Exchanges Tab:
BitCoin ATMs Tab:
Internet Browser Tab:
The normal IE from Microsoft will display when you click this tab.
Notepad Tab:
The normal notepad.exe from Microsoft will display once you click this tab.
Sample Static Information:
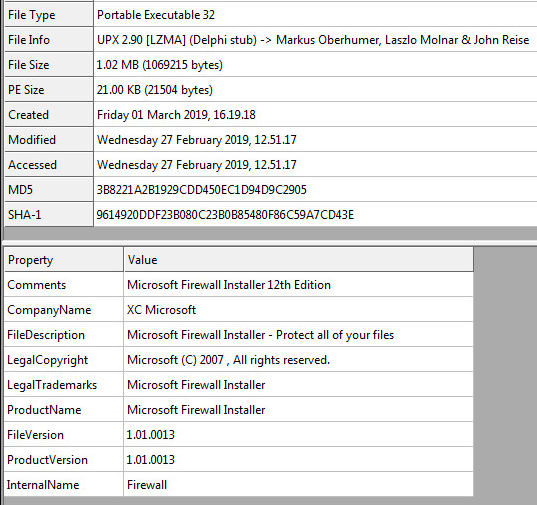
Many basic file attributes of the VirLock first stage can be seen in the following picture below:
Unpacking The Sample:
Using RDG, we can check if the sample is packed, protected, or encrypted. The entropy pie chart will give us a value between 0 and 8. The closer to 8 the value is. The more its considered 100% encrypted:
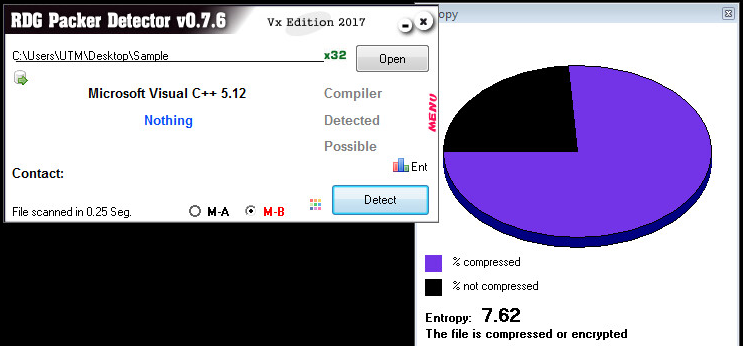
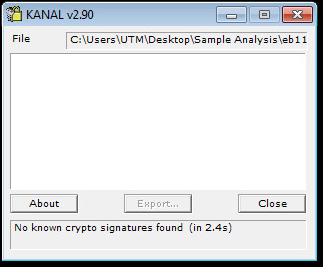
Using a well known PEiD plugin called KANAL we can check for crypto signatures. Being that the sample has an entropy of 7.62 we probably wont see anything in KANAL.:
Loading the sample into IDA Pro, we see the following:

The picture also shows you where in the PE File things are located. We can see by the picture the starting routine is located almost at the end of the file. This means our metamorphic stub starts at the end of the file.
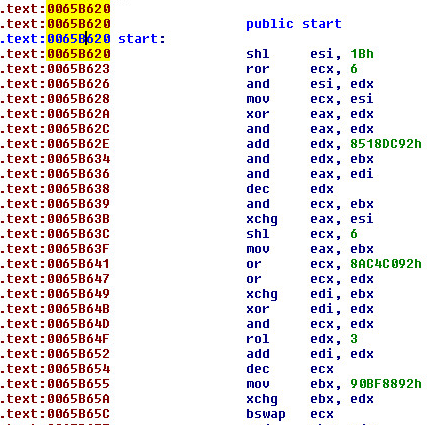
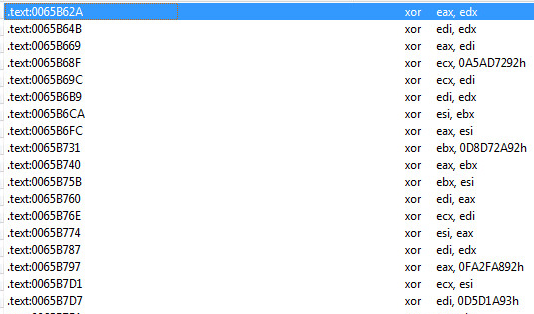
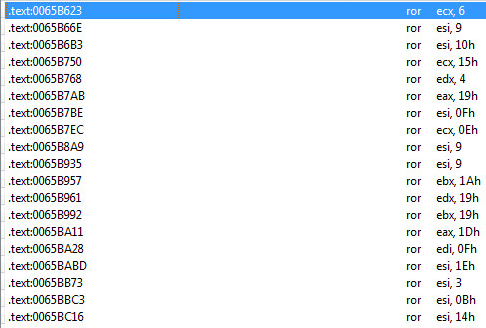
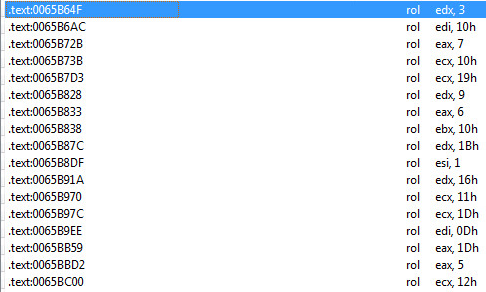
We can see from the picture above, that the sample is packed by a custom crypter of some sort. We can gain more knowledge about what is going on with a few simple text searches in IDA Pro for strings like (xor, rol, ror) within IDA PRO:
our xor search
our ror search
our rol search
The search I like to do the most during the starting routine is searching for the word “call”

We will have to start our dynamic analysis here with x86 dbg, windbg, ollydbg, or Immunity. All metamorphic and even polymorphic code stubs inside the beginning of a crypter have a “call” or “jmp” of some sort to redirect the code to the actual native code of the malware. When the code jumps or calls this area. The code can be considered decrypted at this point. Sometimes we call this area the OEP within some malware. With metamorphic code this area will be chopped up with useless instructions and random junk with the main native code. This is what makes analysis of a metamorphic malware sample hard and time consuming.
After decrypting the starting routine. You will see the following algorithm
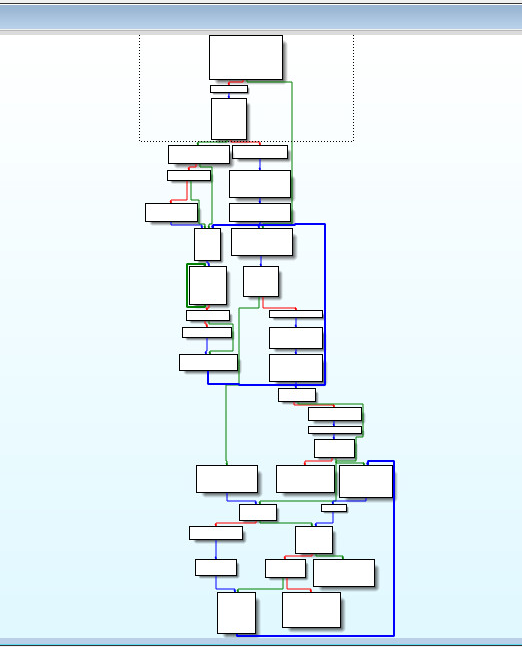
The Anti-Debug part of this algorithm is highlighted in red below. Most new reverse engineers will get stuck in this loop without understanding the assembly code.
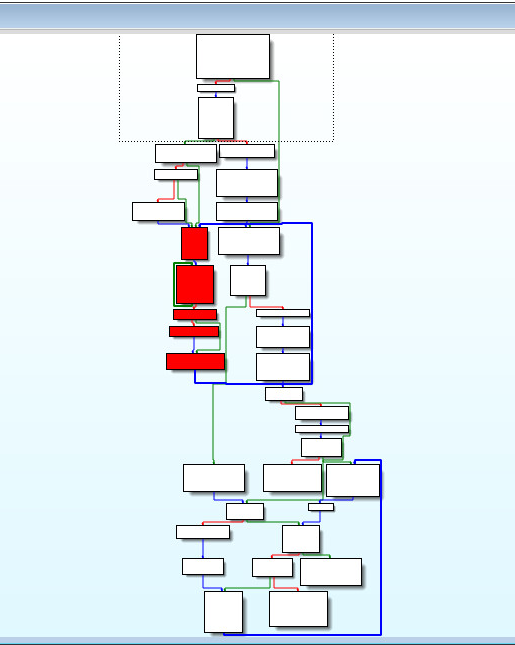
Once you get past the Anti-Debugging and the first Key check. You will start to see the “New Key Generator Stage”:

This is how you know you are on the correct track. While going down the rabbit hole.
First Metamorphic Decryption Set:
Once you do make it down the correct control path. You will reach the decryptor.
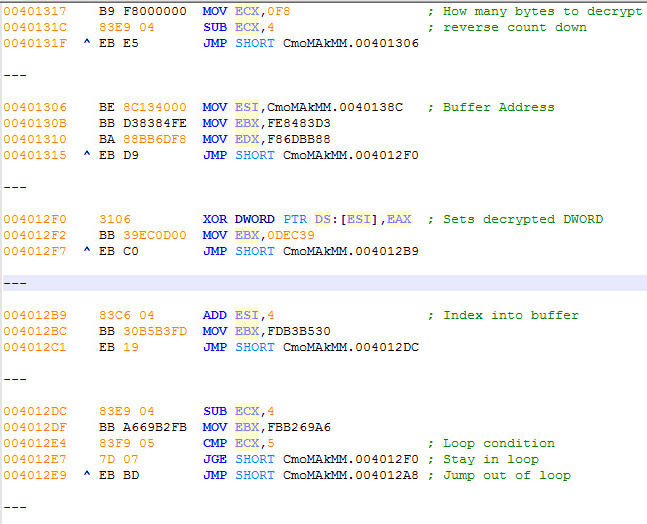
The decryptor will then decrypt the following metamorphic stub. This stub will be the next malware code to execute. Once You’ve found the decryptor and encryptor code stubs along with the pseudo-random value generator. You are basically to the point now, where you can follow the malwares code base 100% the rest of the way. It will take a very long time stepping through the code and a lot of problems and virtual machine snapshot resets to get this far. Just keep with it and you will get there.
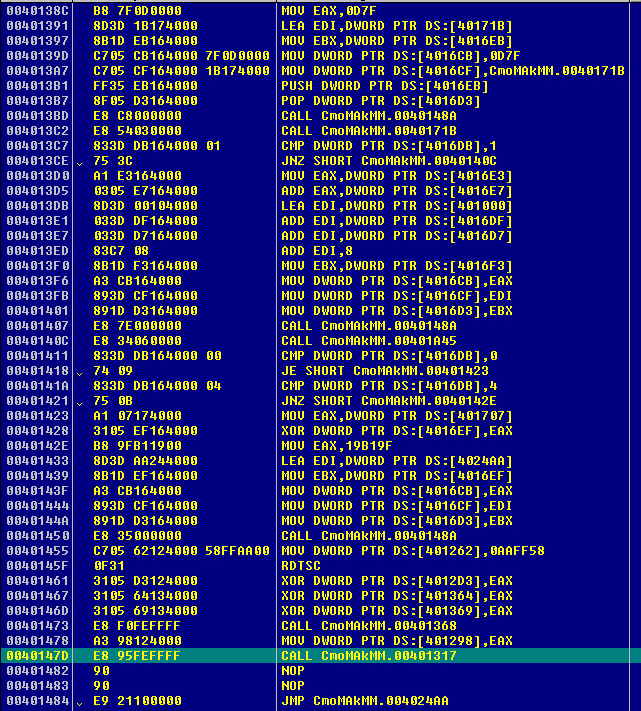
Second Metamorphic Decryption Set:
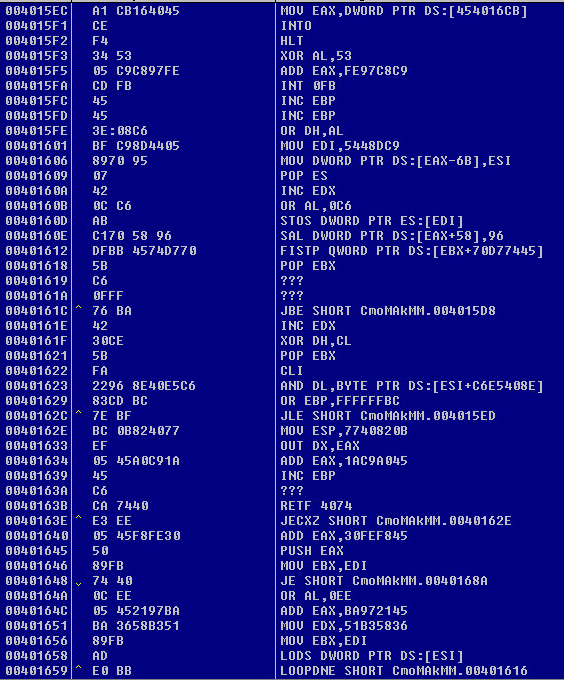
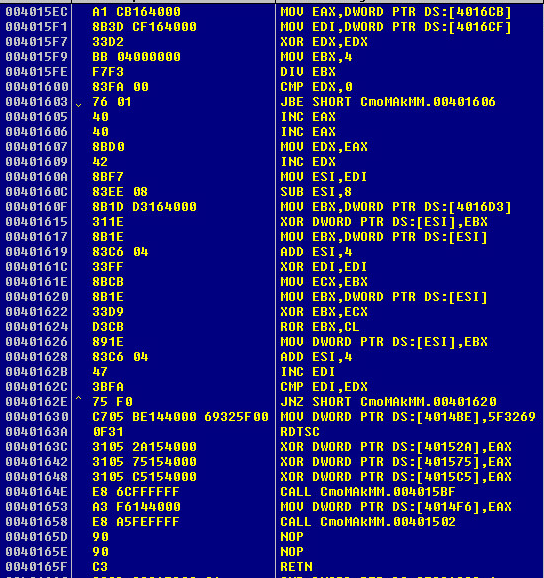
This is the second decryption routine you will run into after the one above
This is what the second encrypted malware routine looks like. The top line has started to decrypt:
This is what the second decrypted malware routine looks like:
Third Metamorphic Decryption Set:
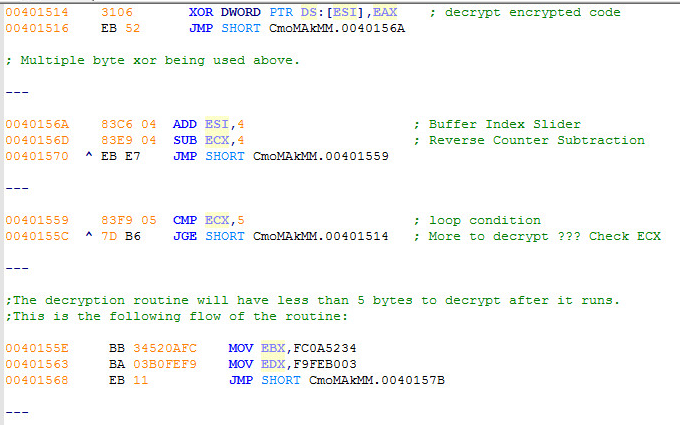
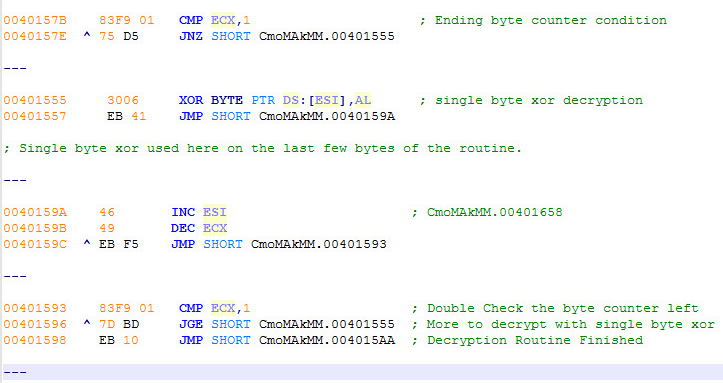
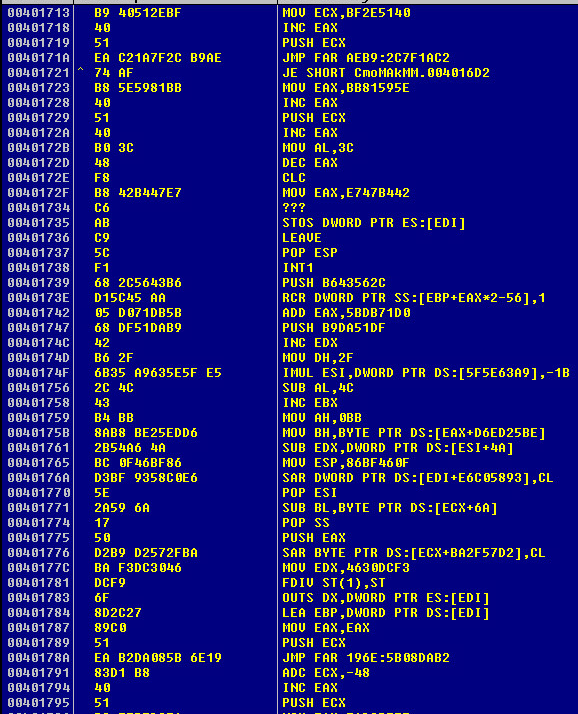
The third set will decrypt a large portion of the file about 3,466 bytes. I cannot show all of the decryption as its insanely long. However, I can show you the decryption routine of the third set and the following encrypted and decrypted bytes:

The encrypted bytes, having the first line decrypted again.
This is the decryption of the third set.
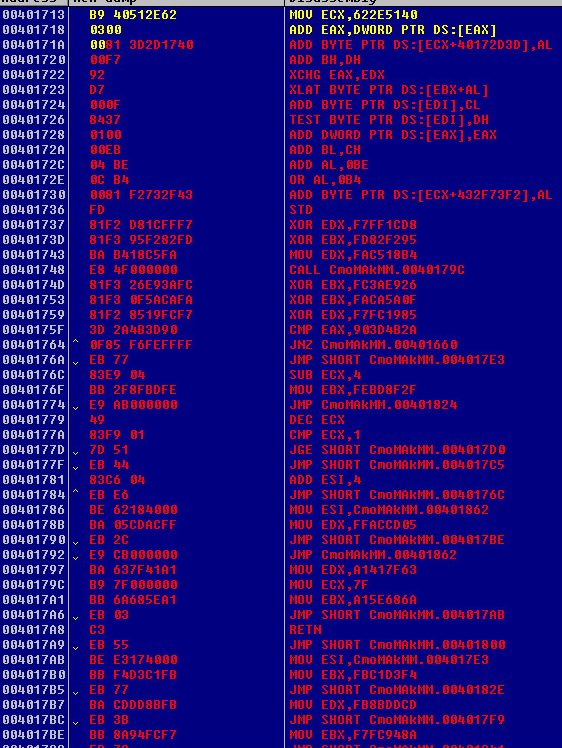
Fourth Metamorphic Decryption Set:
The fourth decryption algorithm will show us the shellcode they use finally.

What the Encrypted shellcode bytes look like:
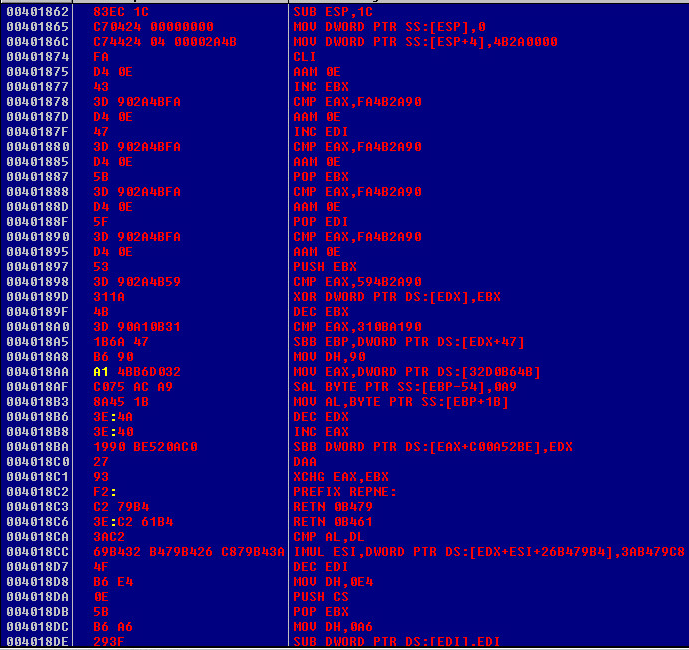
Now we are finally to the shellcode that actually does something. We finally made it. To code that actually does something useful.
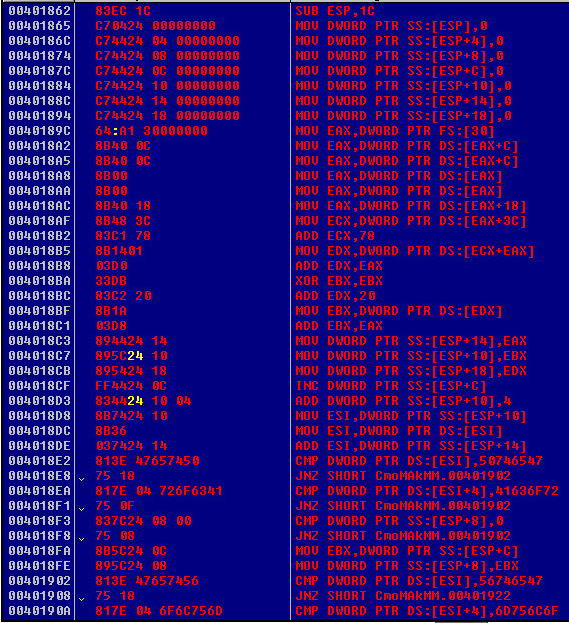
Once you get this far its time to reverse engineer the shellcode. This should help you get started.

It’s nice to see progress from encrypted code to decrypted code while you’re working in any debugger. It just further illustrates you are on the correct path. I’ve added the above unpacking procedure to show the readers it’s very time consuming to do this unpacking procedure. However, this is what you need to do to each file that has been infected. This is why it’s recommended to have a security professional to locate all the decryption keys for each file that has been infected. I’ve heard this part is automated now on a few different websites that are laying around online. Who knows if they actually work. Please read the summary below about what to do in case you are infected with this malware.
Extra-Information:
A collection of notes for the avid security researchers.
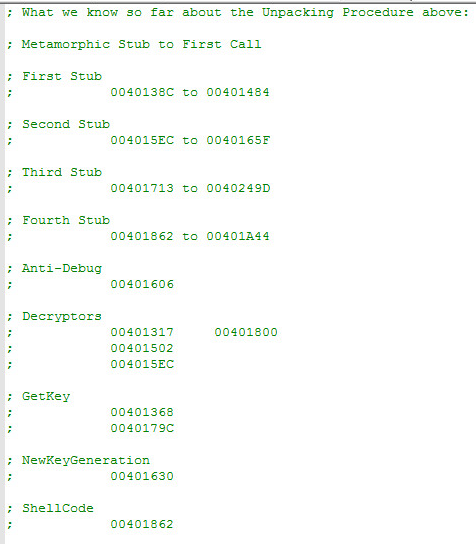
As always there is so much more to this malware that just isn’t covered in this blog. This blog would be 100 pages long if we hit every aspect of this malware.
Supported Systems:
The sample was tested and debugged on (x86) – 32 Bit, Windows 7 Professional.
Summary:
If you are infected with this malware. Make a backup of the files you would like to keep. There are ways to decrypt the files from this ransomware. However, the process will be long and time consuming. After saving your files. You should think about getting a new hard drive to reinstall your OS too. Do not use the old hard drive. File Infector ransomware is probably considered the worst of any type of malware you could possible get infected with.
SonicWall, Gateway Anti-Virus (GAV), provides protection against this threat:
GAV: Virlock.E


